The Starter-Kit for allPIXA neo provides all relevant components to set up a test system, acquire the first images, and evaluate the camera. This instruction helps you to acquire the first images in your development environment.
Unboxing
The Starter-Kit provides the following components:
| Part Number | Quantity | Description |
| CP000660-X-X-X | 1 | allPIXA neo line scan camera |
| CC03304 | 1 | Network card, BroadcomP210TP - 2 x 10GBASE-T PCIe NIC |
| CP000722-X | 1 | Trigger cable |
| CC03344-5.0 | 2 | Ethernet cable Cat6a |
| CC03335 | 1 | Power over Ethernet Injector (PoE Injector) |
| CP000662 | 1 | allPIXA neo F-Mount adapter |
| CP000667 | 1 | allPIXA neo Fan Cooling |
Getting Started
| 1. Unpack the camera and the components | 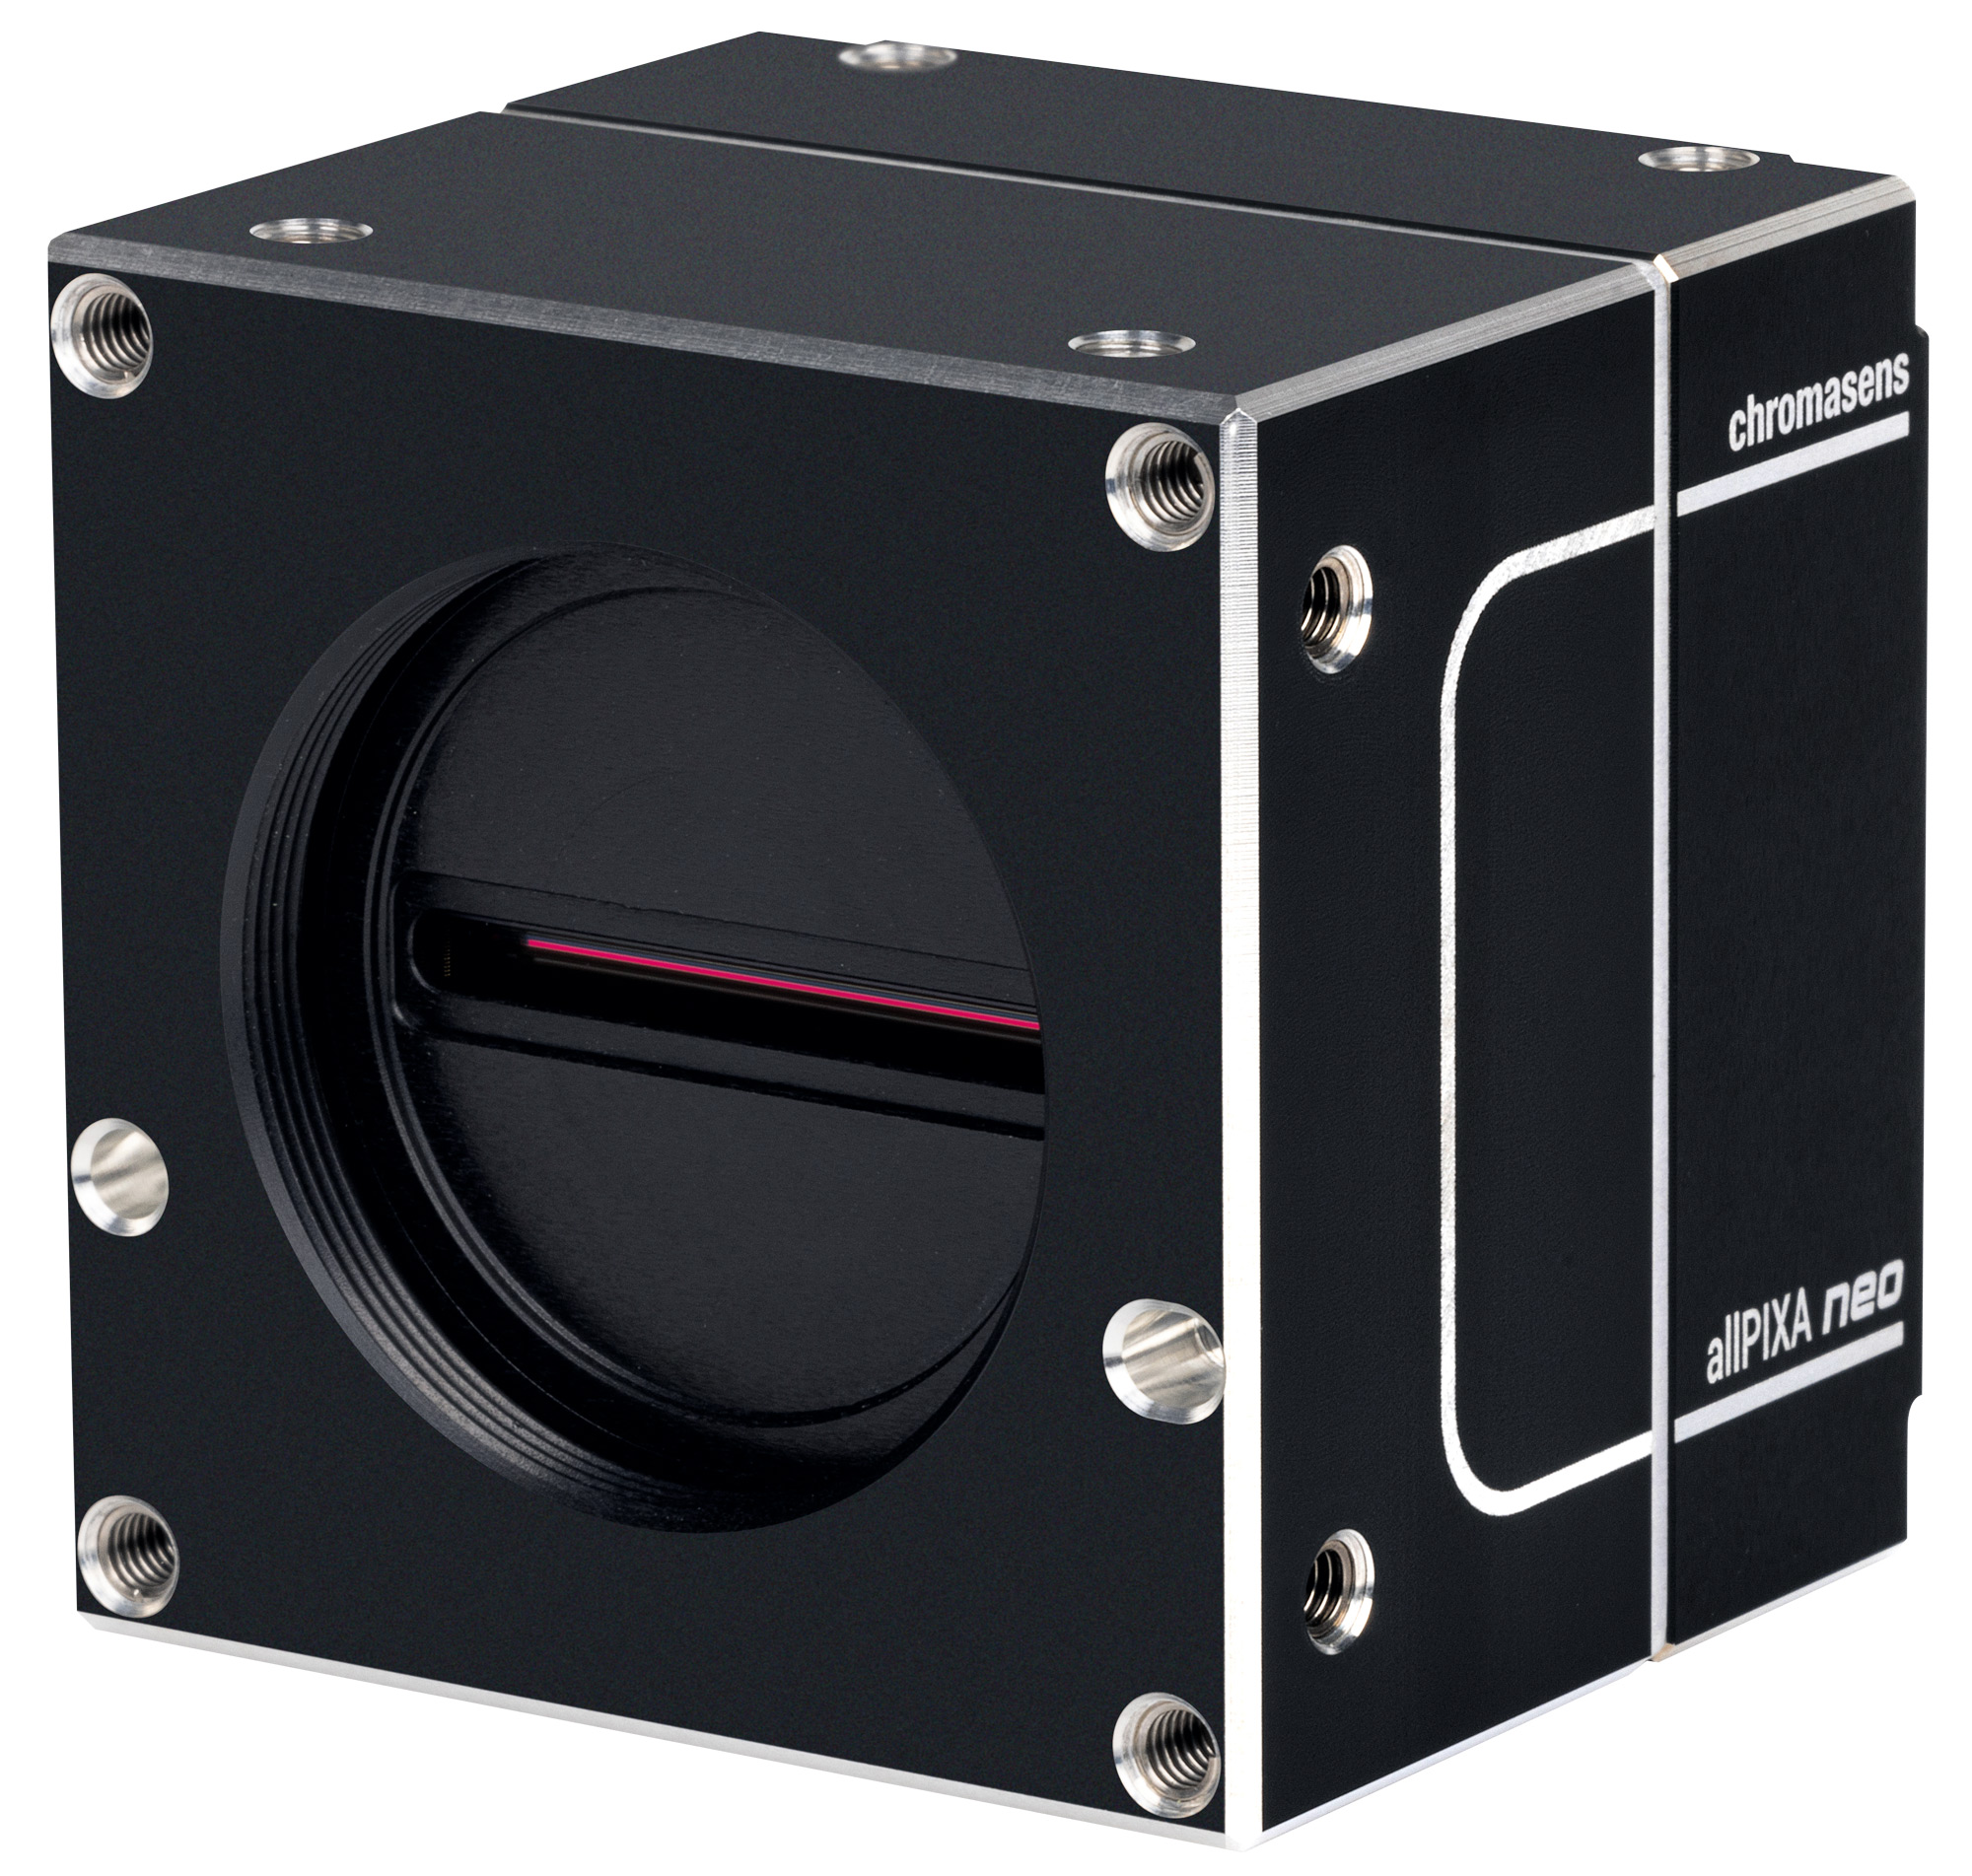 |
| 2. Install the network card into your computer | |
| 3. Download and install the drivers of your network card | Network adapters and transceivers |
| 4. Connect the camera with the PoE injector and the PC | Note It must be ensured that the camera does not become too hot. Therefore, it should be operated with a cooler or in an environment that dissipates the heat. |
| 5. Install GCT | Installation GigE |
| 6. Acquire the first image | Acquire the first image |
Further Steps
| 1. Install the camera in your system | Mechanical installation |
| 2. Setup your Trigger | Electrical installation |
| 3. Perform the camera image calibration steps | Camera image calibration |