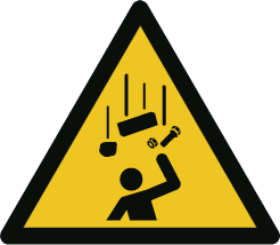
 | .png) WARNING WARNING |
| During lifting and setting down the device can fall and lead to injuries. | |
| Use foot protection. |
Prepare the camera and lens
- Select the correct lens and accessories to operate your camera in the desired environment.
- Install the lens and adapters. For a detailed description of lens and mount installation, follow the Chromasens Camera Configurator.
- Mount the optional cooling kit if necessary.
Thermal link and cooling
The camera operates within the defined housing temperature range of 0 °C to 60 °C.
If this range is exceeded, use cooling kits.
For more information on cooling kits and fans, see Cooling kits and fans (heat sink).
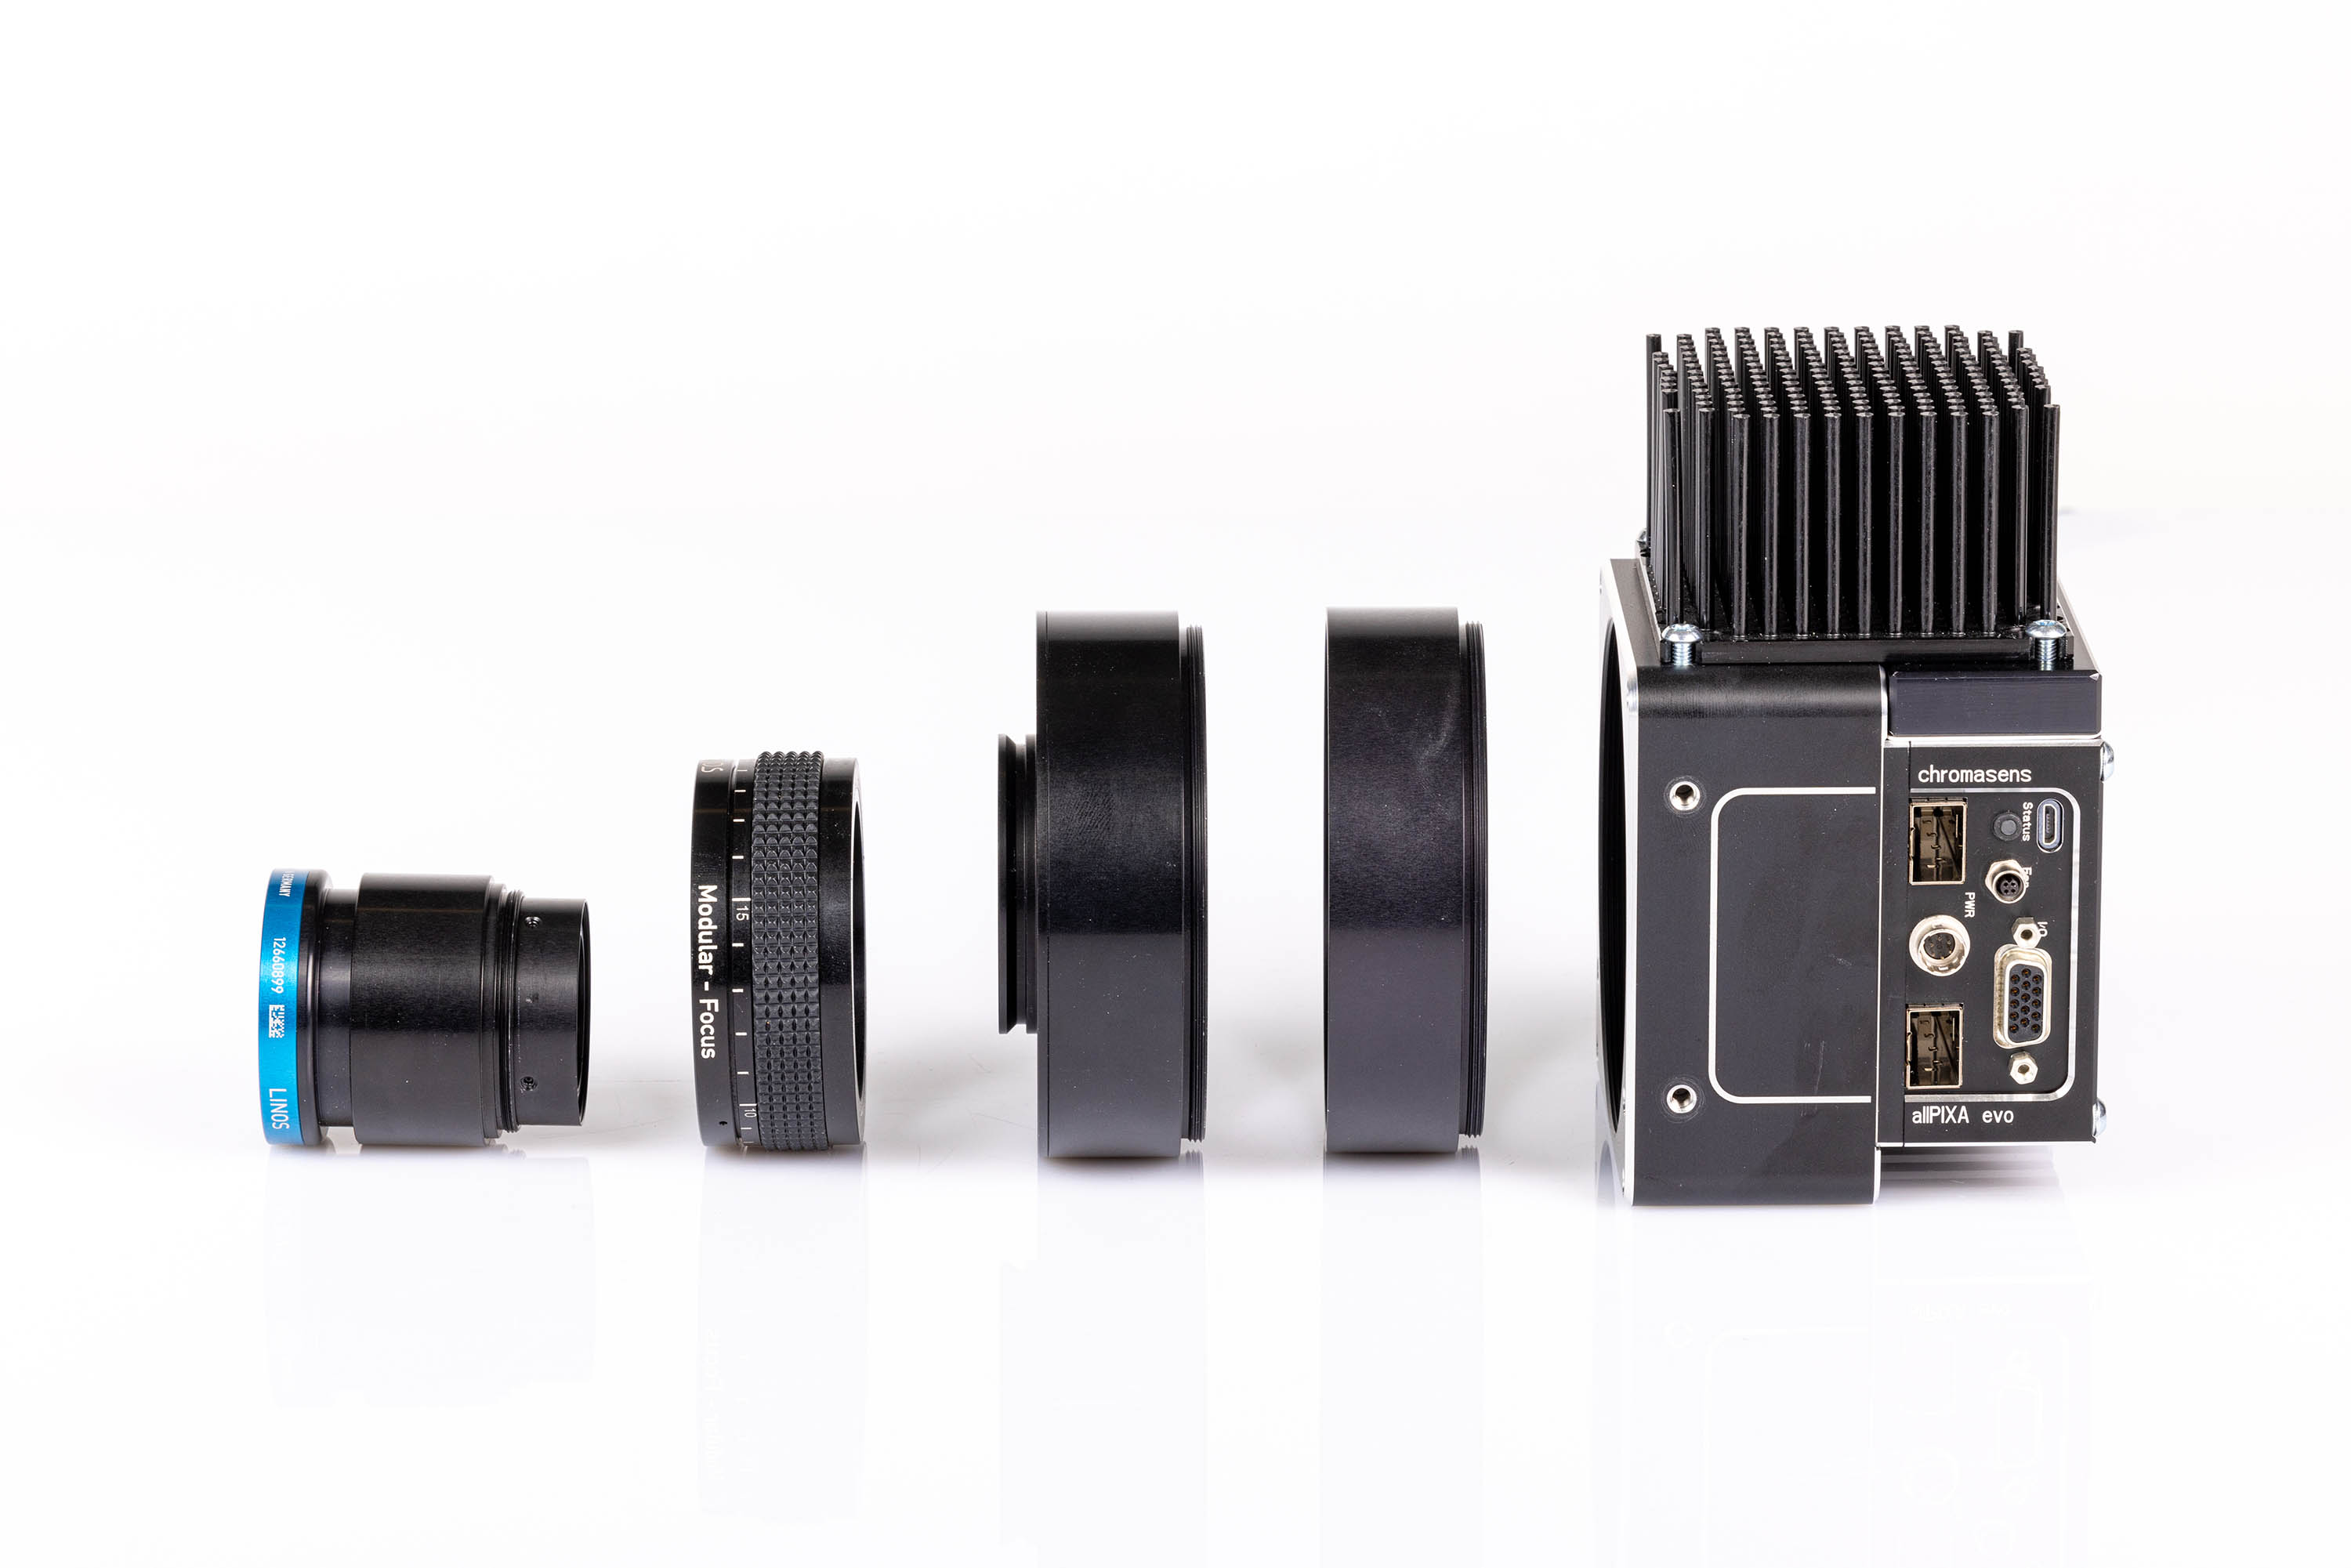 Overview: Camera with cooling kit, adapters and lens
Adjust and install your illumination
It is recommended to use a Chromasens Corona II illumination.
Follow the instructions of the Corona II manual for correct installation.
Install the camera in your system
Adjust the sensor line horizontally to the transport direction. The camera has to look perpendicular to the inspection area. For a detailed description of the correct camera installation, check the following chapter.
 Exemplary installation method of 3 cameras
 Mounting
The camera housing provides various mounting options. For information about the exact mechanical dimensions refer to specification of your camera model.
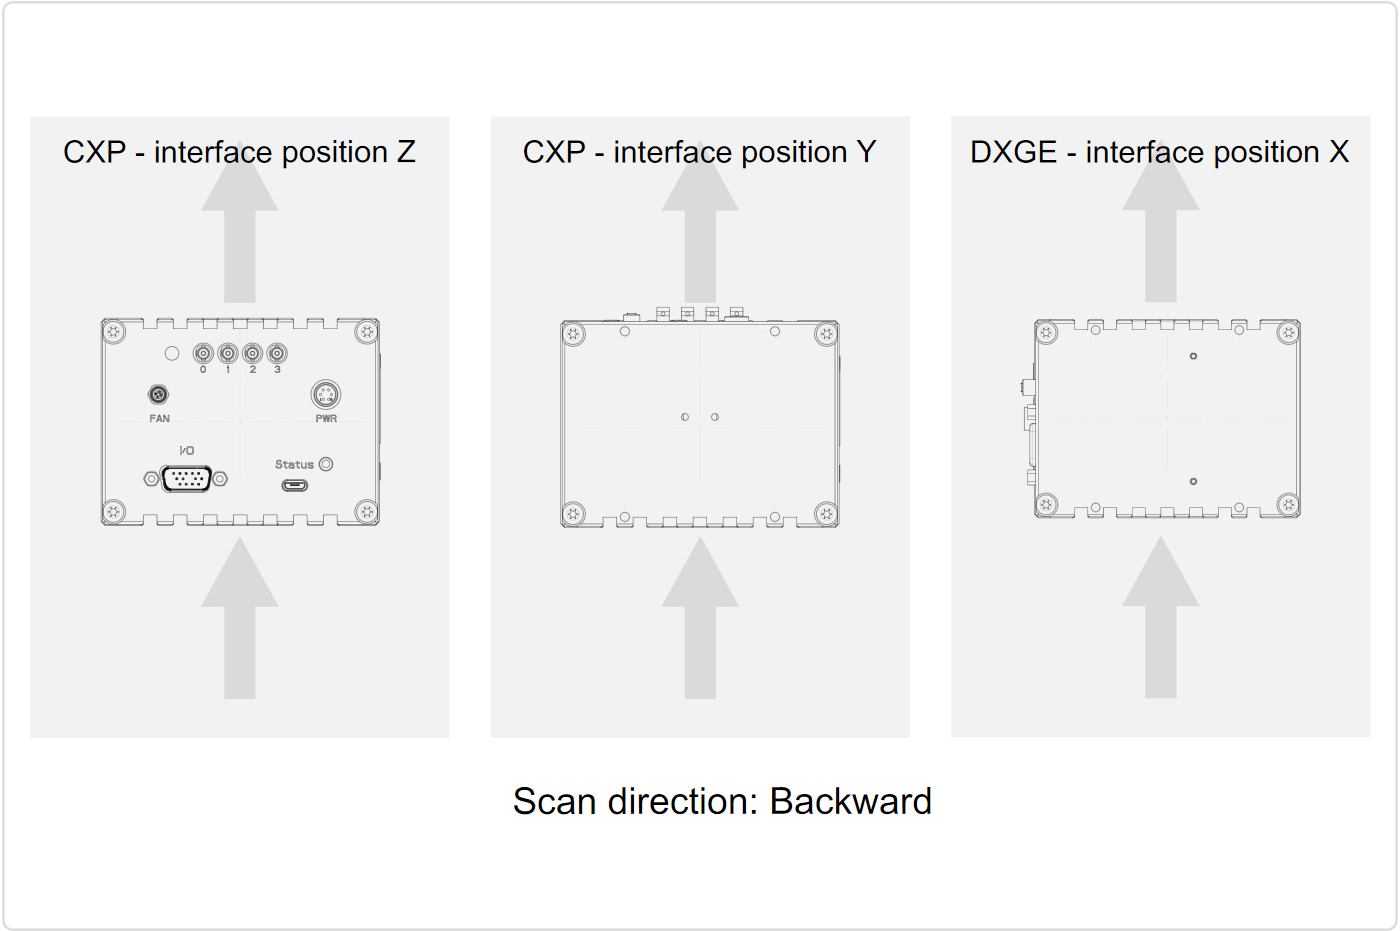
Scan Direction
The following image shows the scan direction Backward of the allPIXA evo cameras.
Conveyor belt tracking
The conveyor belt on which the object is transported must run absolutely straight as shown in the following graphic. Misalignment can cause image artifacts.

Perpendicularity of the sensor to the direction of transport
Align the camera at a right angle (perpendicularly) to the transport direction as shown in the following graphic. Misalignment can cause chromatic aberration in the image.

Rotation around the longitudinal axis of the sensor
Make sure that the longitudinal axis of the camera is parallel to the transport direction as shown in the following graphic. Misalignment can cause scale change and chromatic aberration in the image.

Rotation around the transverse axis of the sensor
The transverse axis of the camera must run parallel to the transport direction as shown in the following graphic. Misalignment can cause scale change and chromatic aberration in the image.
