Note
Before you can perform the color calibration, please make sure that your camera is correctly calibrated and the appropriate DSNU and PRNU are loaded.
Also disable the Gamma function (LUT)
Introduction
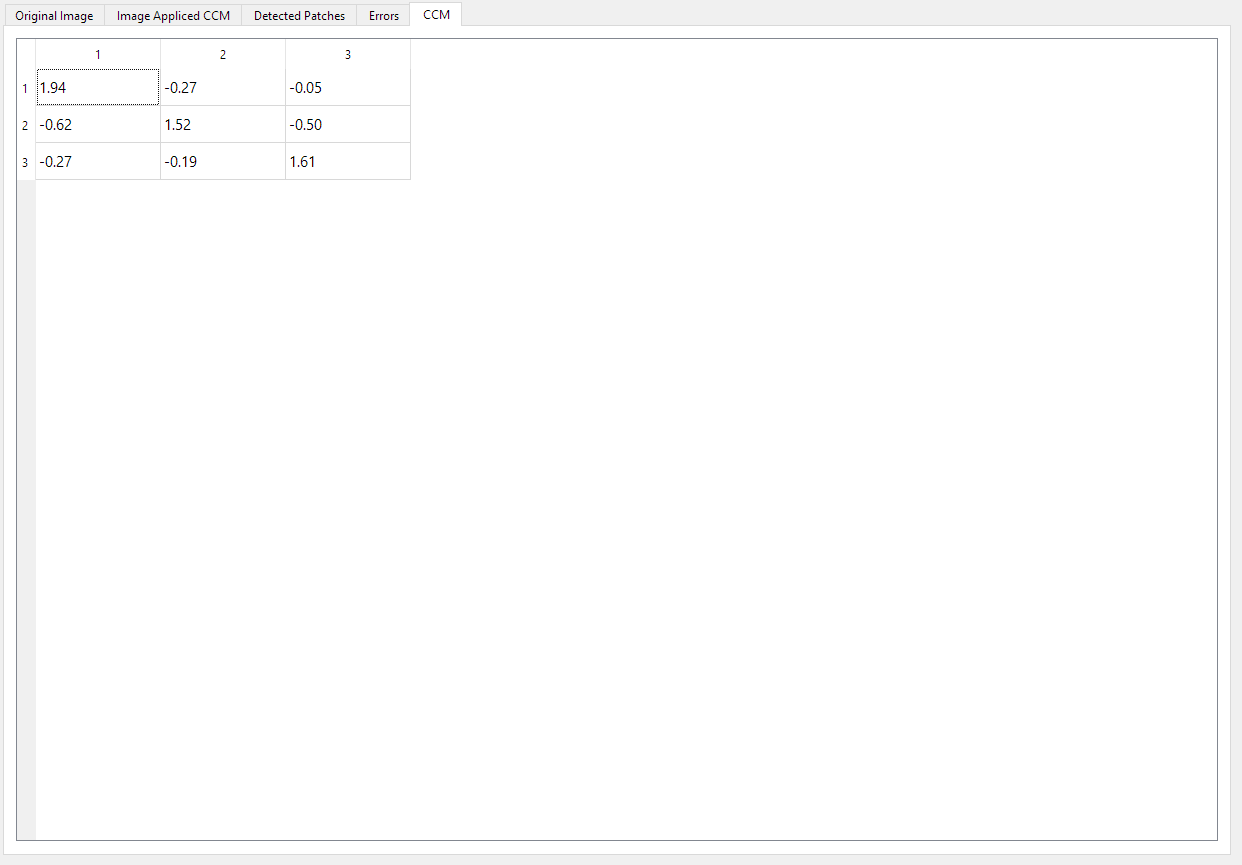
The aim of color calibration is to transfer the color space determined by the properties of the camera and lighting into a standardized output color space. Typical color spaces are e.g. XYZ, sRGB, Adobe RGB, ECI RGB and CIELAB. The GCT Color Calibration wizard offers an easy way to calibrate Chromasens cameras. It compares scanned image data with a reference data set measured with a calibrated device and determines a color conversion matrix (CCM) that can then be loaded into the camera.
Prepare your system
Before you can start the Color Calibration process, you need to prepare your system as the following:
Perform the Camera Calibration section, for allPIXA evo Camera image calibration and for allPIXA neo Camera image calibration.
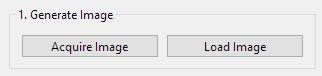
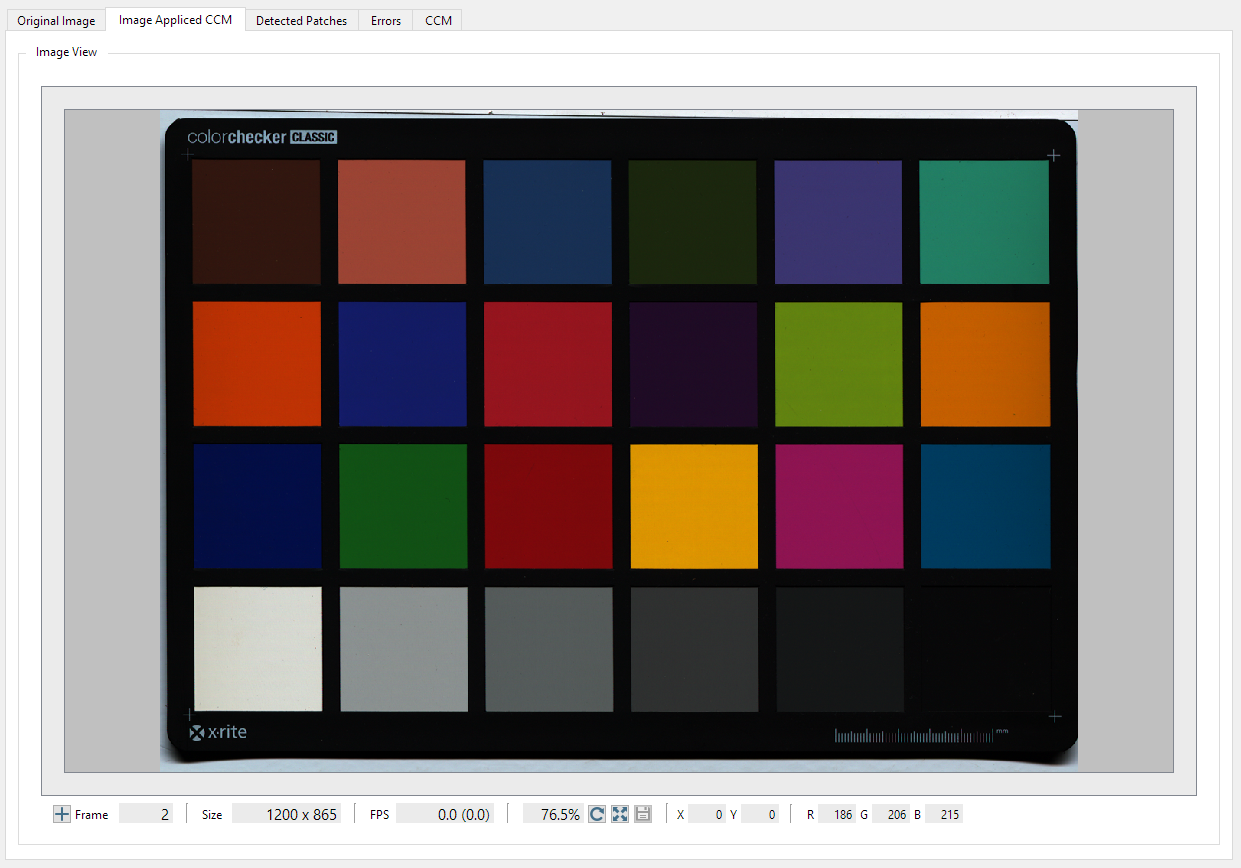
Place a ColorChecker Classic or ColorChecker Digital SG under the camera, and acquire the image under the same condition as you performed the Camera image calibration.
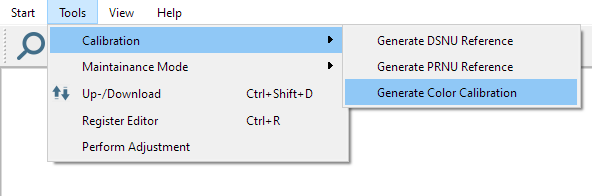
Generate Color Calibration
| |
|
|
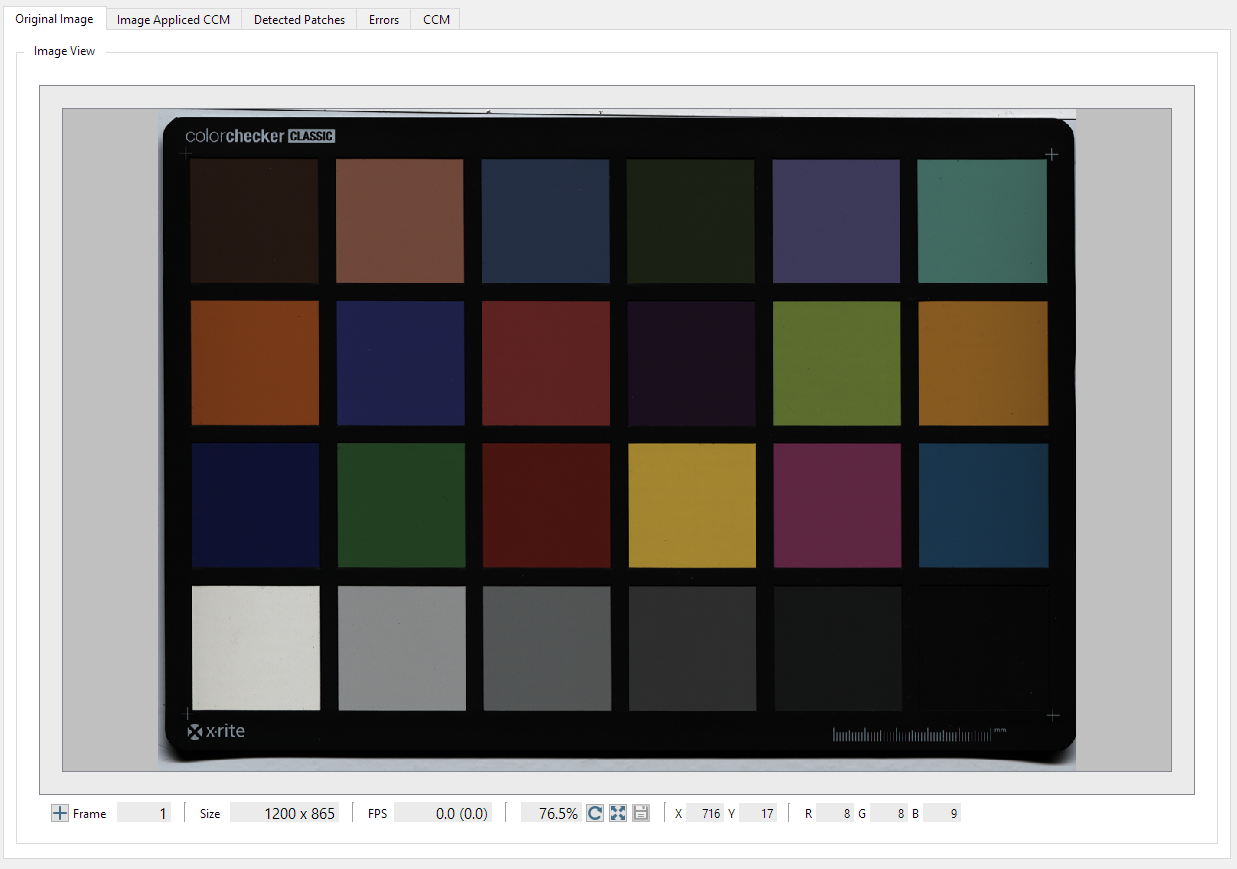
The raw image is displayed in the tab on the right side. |
|
|
|
|
|
|
|
|
|
|
|
|
|
|
|

.png)
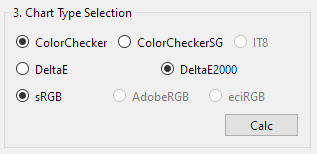


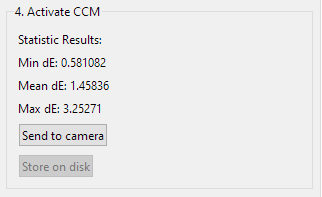
Color metric
Delta E
Interpretation of the delta E values
Delta Value | Human Perception |
|---|---|
0.0 - 1.0 | Not or hardly perceptible |
1.0 - 2.0 | Perceptible by experienced observers |
2.5 - 3.5 | Perceptible even by inexperienced observers |
3.5 - 5 | Clear color difference |
5.0 and higher | Large color difference |