The adjustment of a camera system is an iterative process. It might be necessary to do the white balancing step twice.
NOTE: The white reference must be clean and in the focusing plane of the camera.
Use a professional white reference, e.g. a clean white ceramic or plastic material.
For the best result use a moving white reference to diminish the effects on any optical variations in the white reference.
Prepare your system
- Place a white reference under the camera.
- Set the lens aperture f-stop on the camera lens.
- Load the default user set.
- Set the maximum exposure time.
- Set the line time.
- Switch on the illumination and set the light current.
|
|
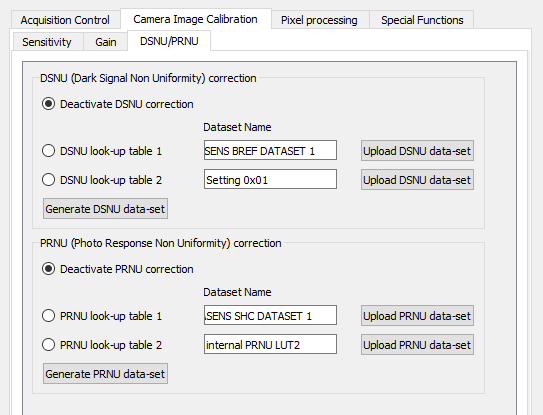
Deactivate DSNU and PRNU correction - In the Configuration window navigate to Camera Image Calibration → DSNU/PRNU.
- Select the Deactivate DSNU correction checkbox.
- Select the Deactivate PRNU correction checkbox.
|  |
Configure the gain settings
- Click on the plus sign in the right window to add a new tab.
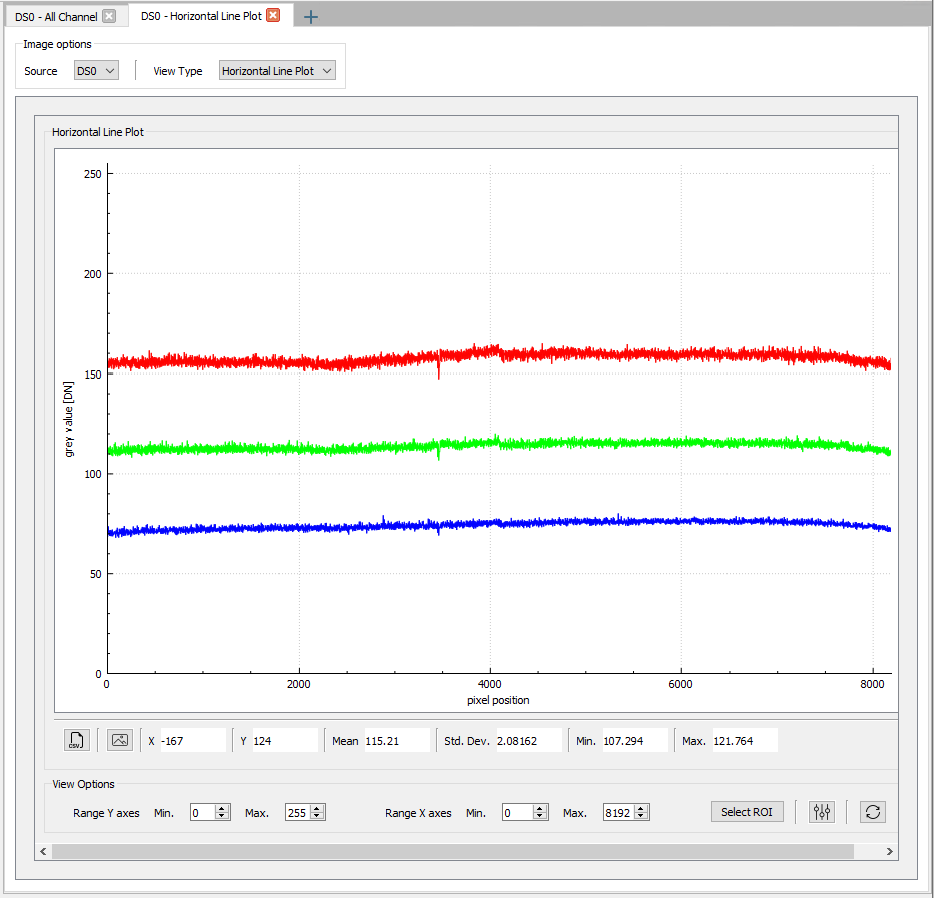
- Select Horizontal Line Plot.
- Start Image acquisition
|  |
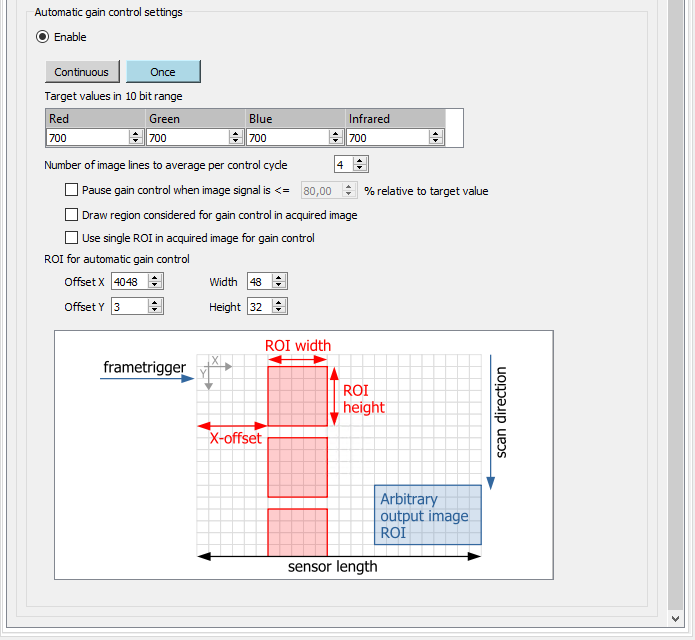
- In the Configuration window navigate to Camera Image Calibration → Gain.
The current values in the 10 bit range are displayed. |  |
- Select the Enable checkbox in Automatic gain control settings.
- Set the reference mark position and size:
Below ROI for automatic gain control set the values for Offset X, Offset Y, Width and Height.HINT To control the position in images you can temporarily select the Visible feature. - Make sure that the reference mark position is at the brightest region of the image (at the center).
- Set the target white reference values:
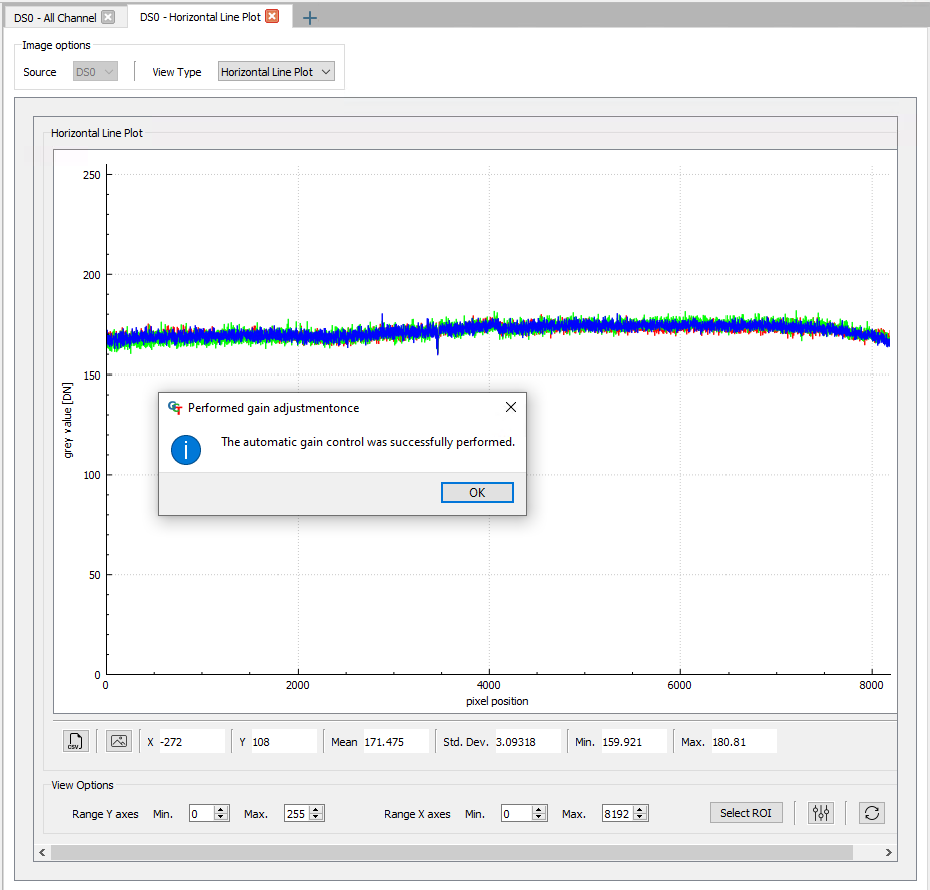
Below Target values in 10 bit range set the values for Red, Green, Blue and Infrared.NOTE The target values should be between 800 – 880 to get values between 200 – 220 in the horizontal line plot. - Click on Once in Automatic gain control settings.
|   |
The camera performs a white balancing with the current settings.
After successful balancing Gain Auto Status returns Control Successful.
NOTE: If the white balancing was not successful, you have the following options:
- Modify the exposure time
- Modify the illumination current
- Modify the f-stop of your lens
- Modify the sensor sensitivity
NOTE: Repeat the white balancing in the following cases
If you change the f-stop of the camera lens or the setting of the illumination repeat the white balancing.


